
Calligraphy has been a cherished art form for centuries, and it continues to play a significant role in making wedding invitations and decorations truly special. Whether you're planning your own wedding or looking to offer your calligraphy services to others, learning the art of wedding calligraphy can be a rewarding and creative endeavor. In this step-by-step guide, we'll walk you through the basics of wedding calligraphy and provide tips to help you create elegant and personalized pieces.
Step 0: Decide the Scope of Wedding Calligraphy
Wedding planning is critical for things to go smoothly. It's important to plan how much custom calligraphy work you or your calligrapher want to do so that both parties understand what is expected. To give you an idea, here are some common things that calligraphy is used for at a wedding:
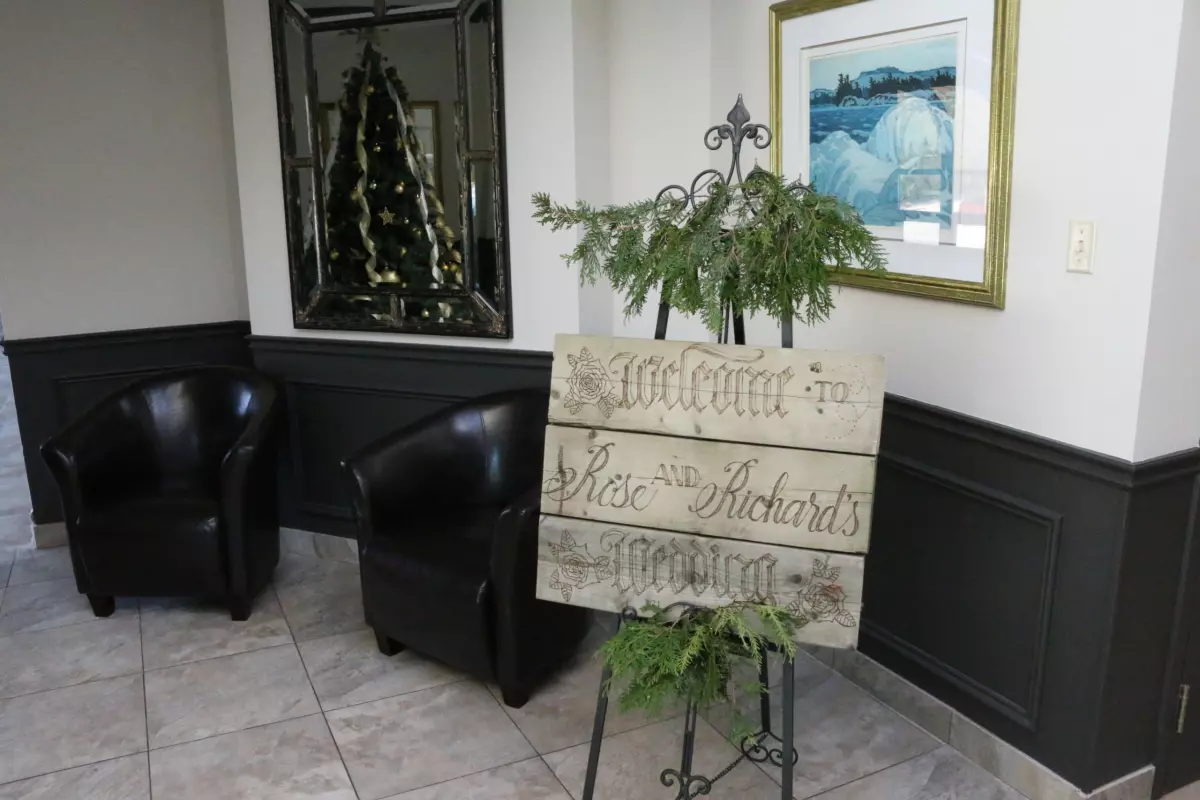 Event Signage
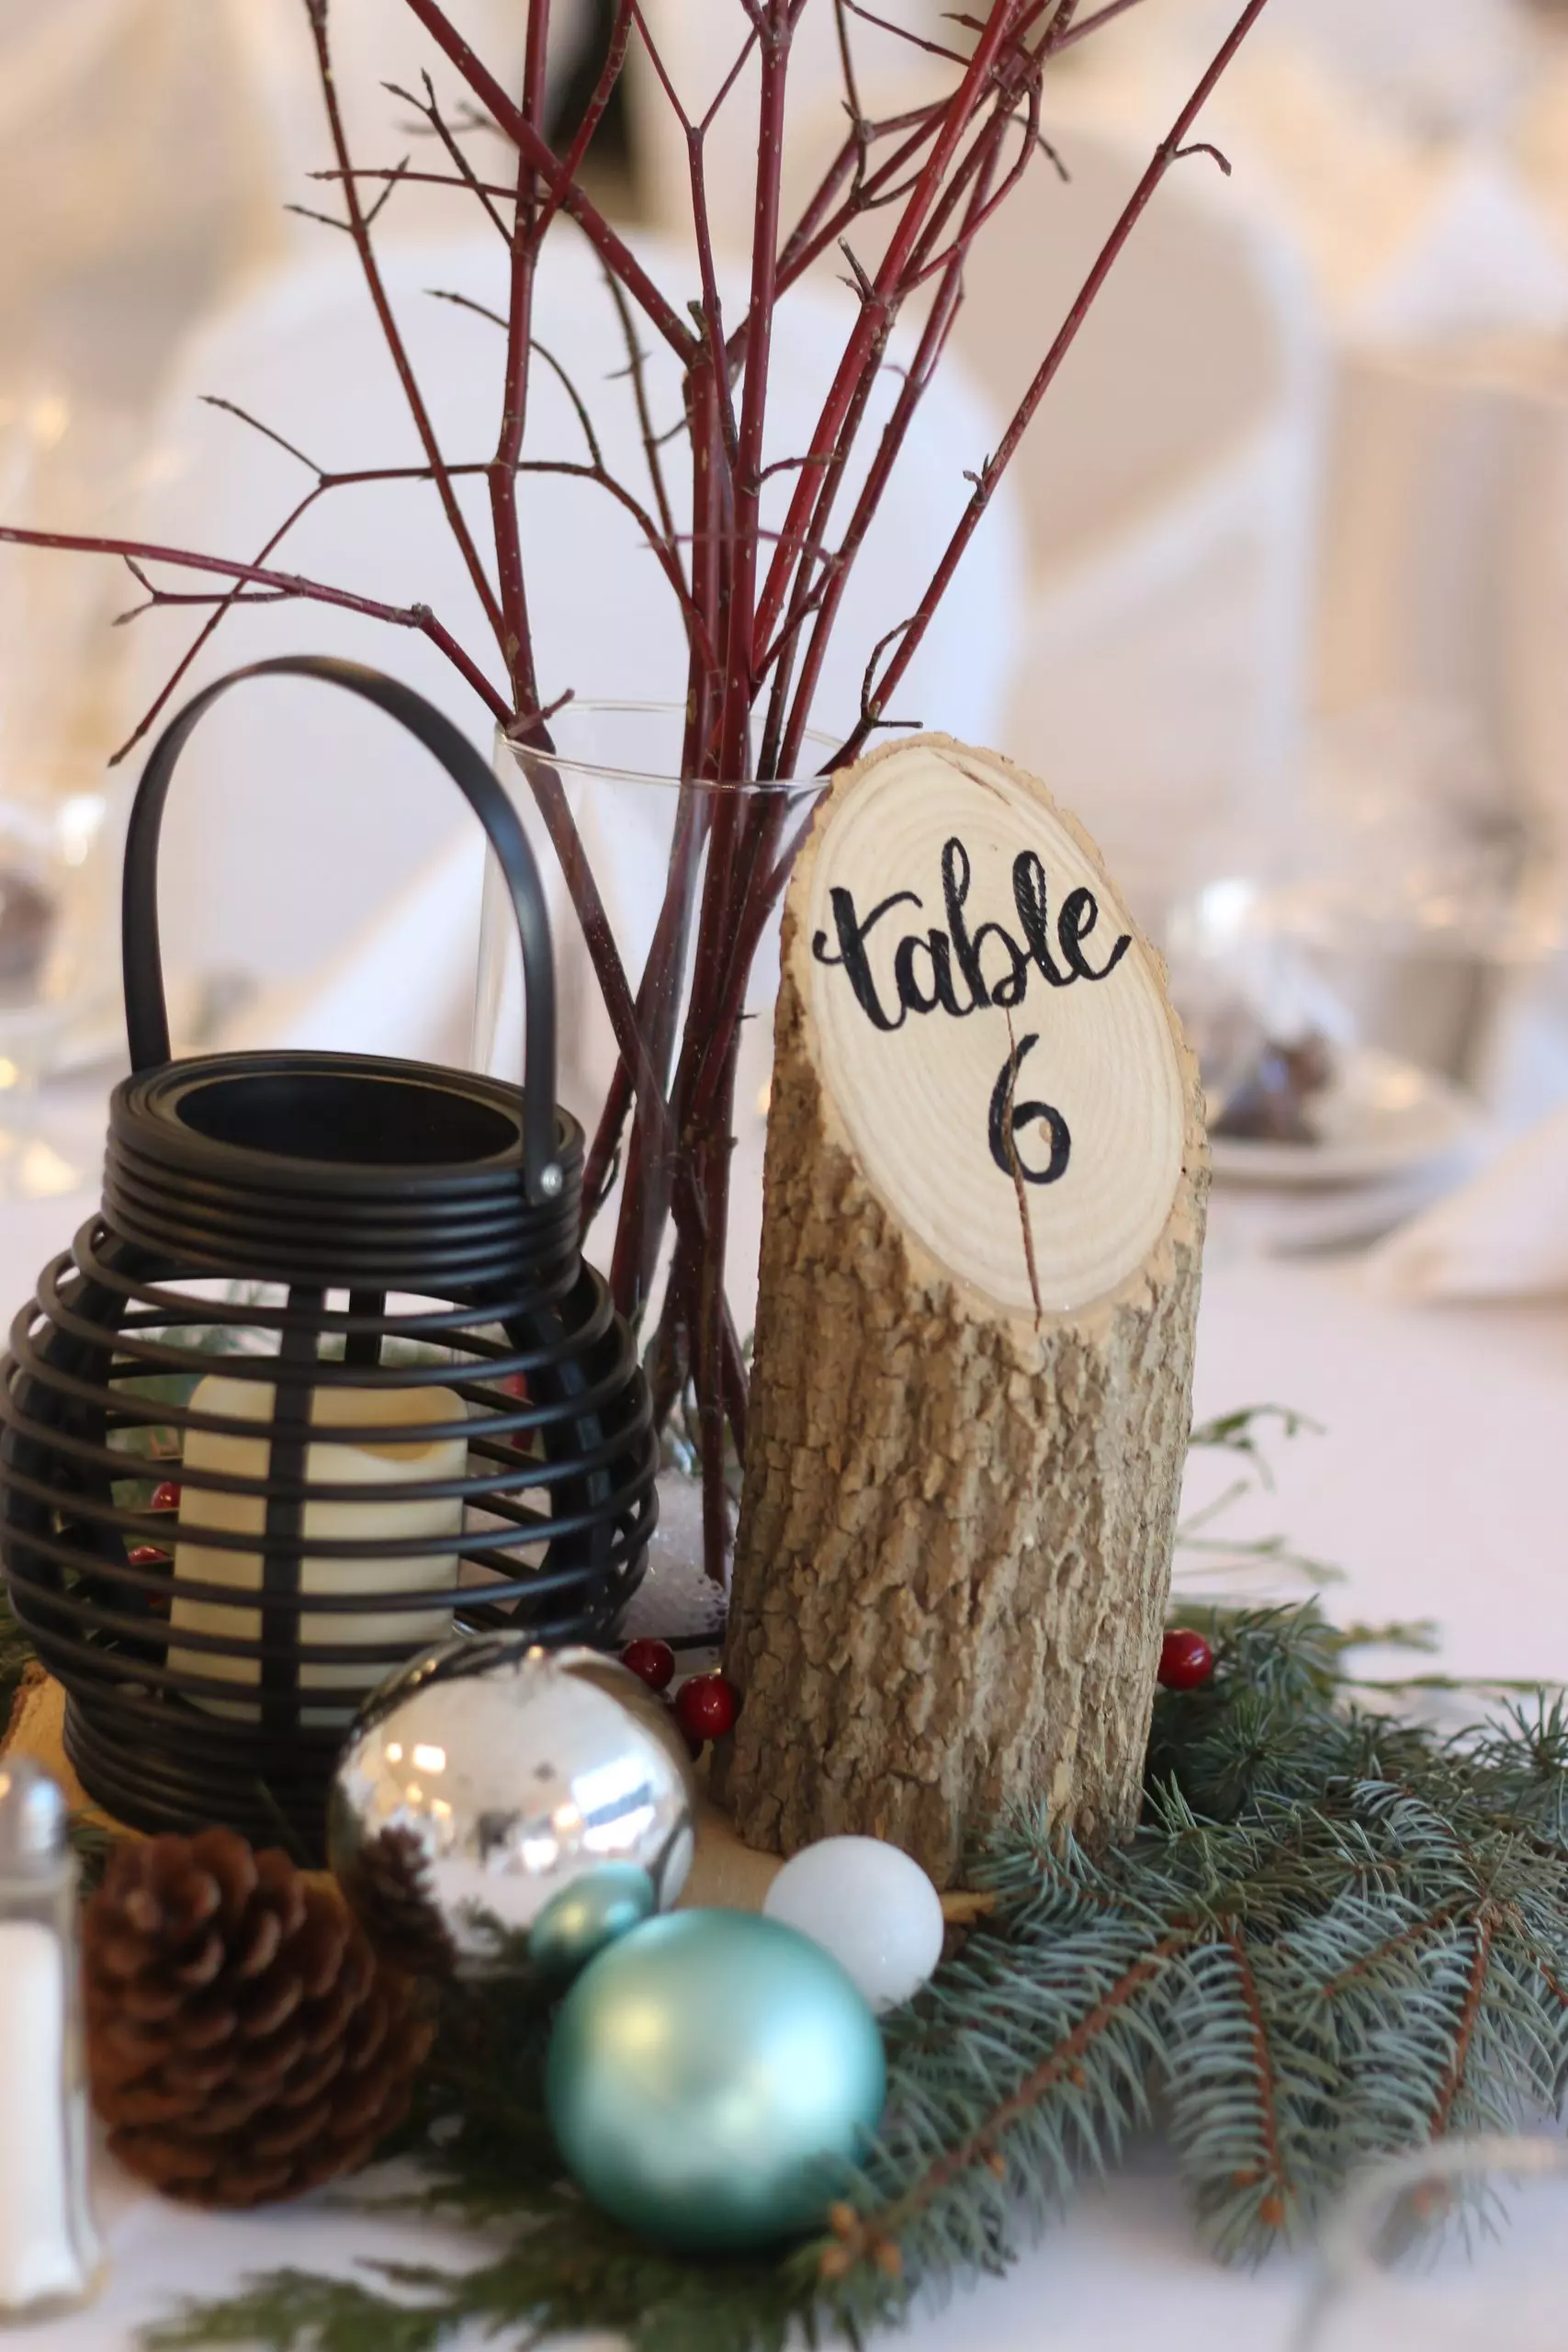
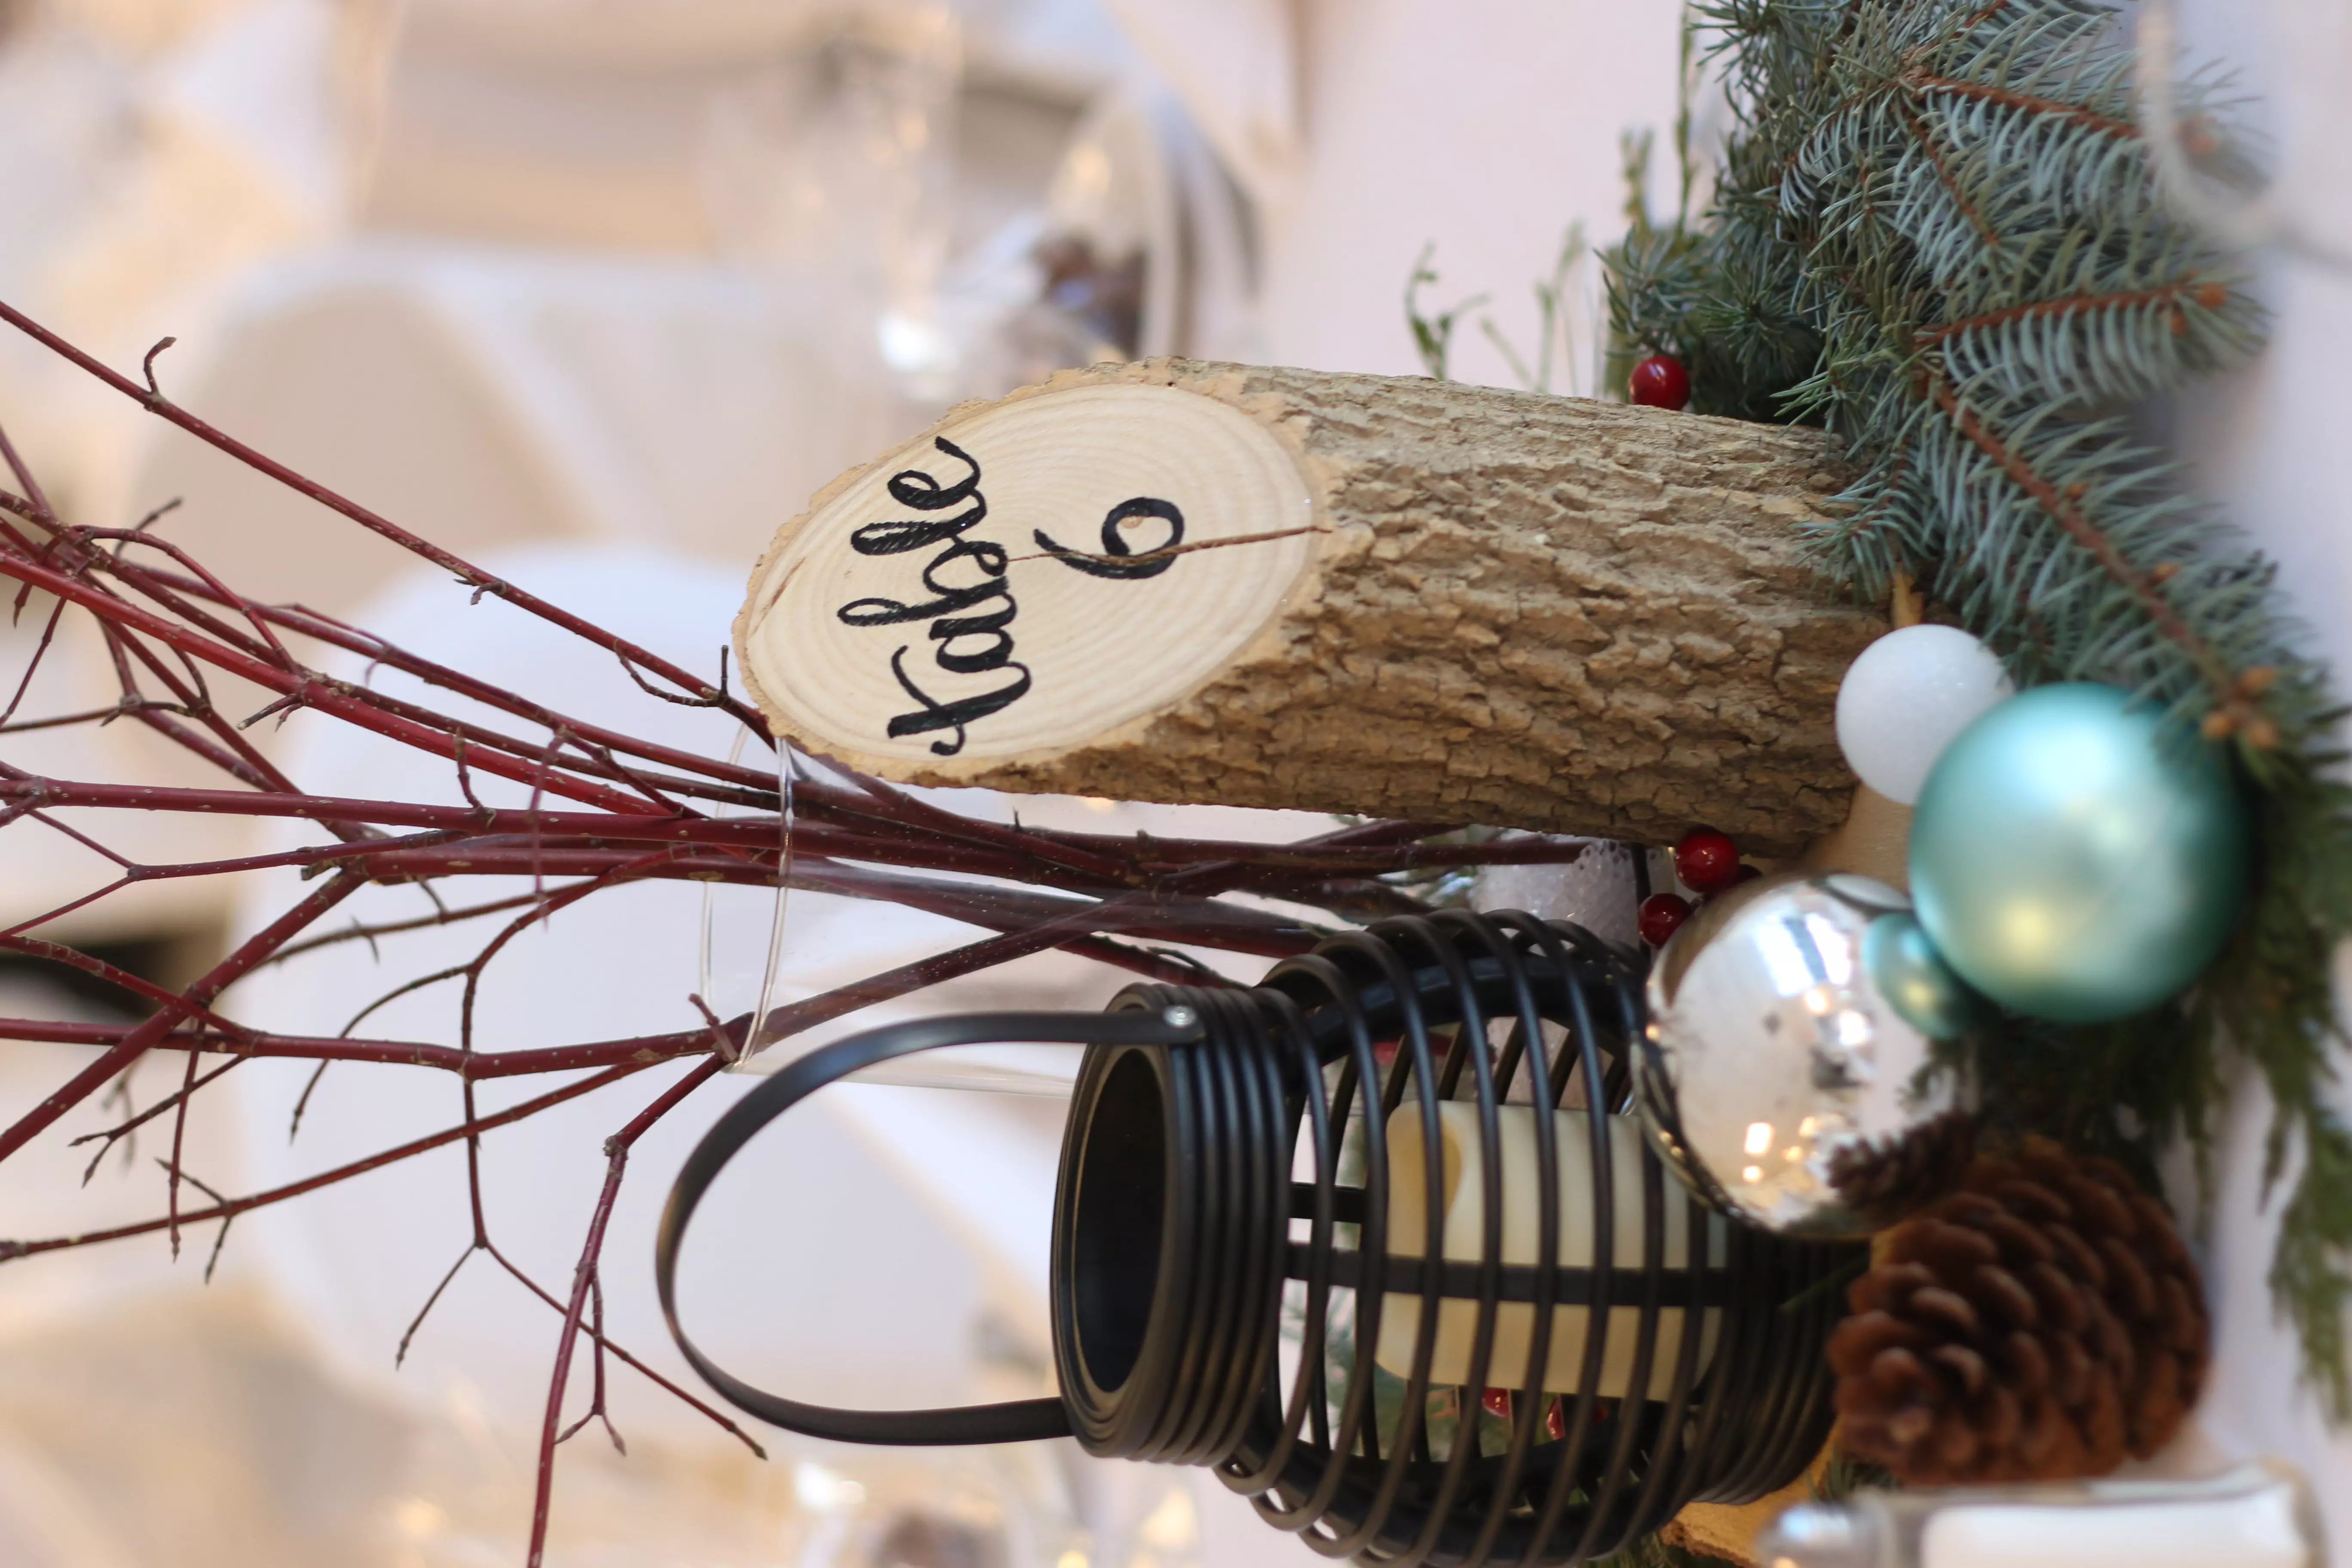
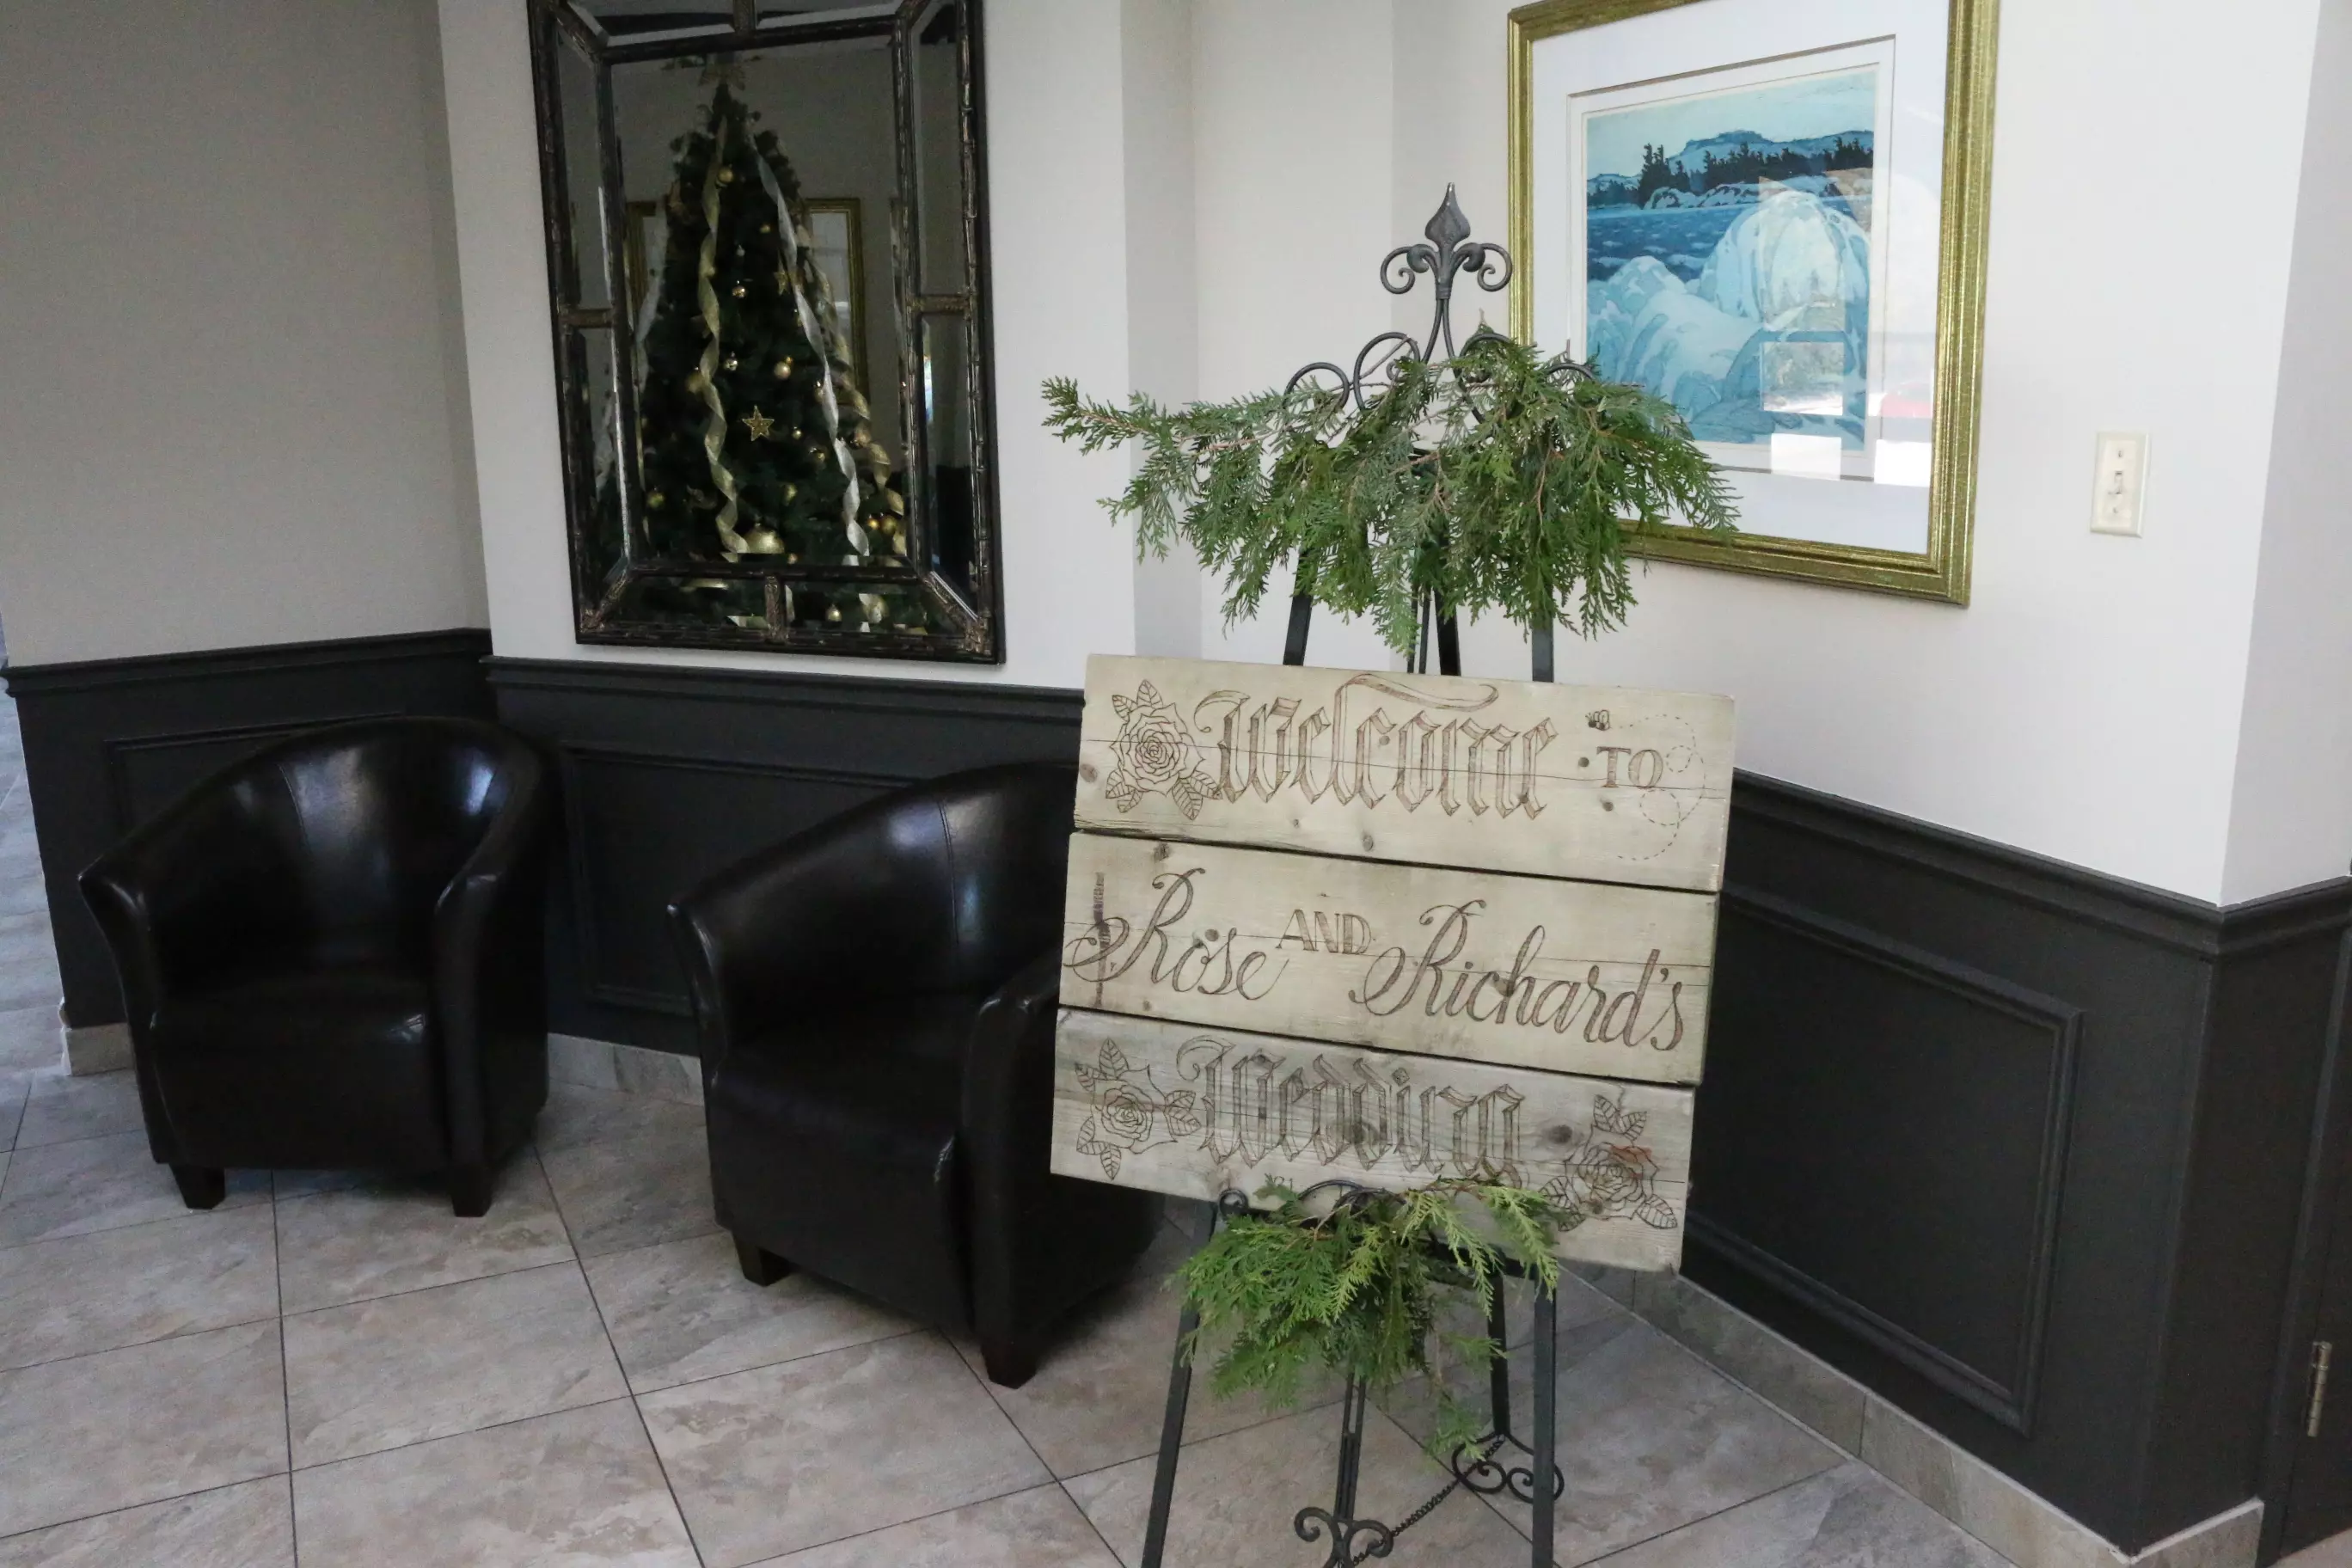 Table Numbers
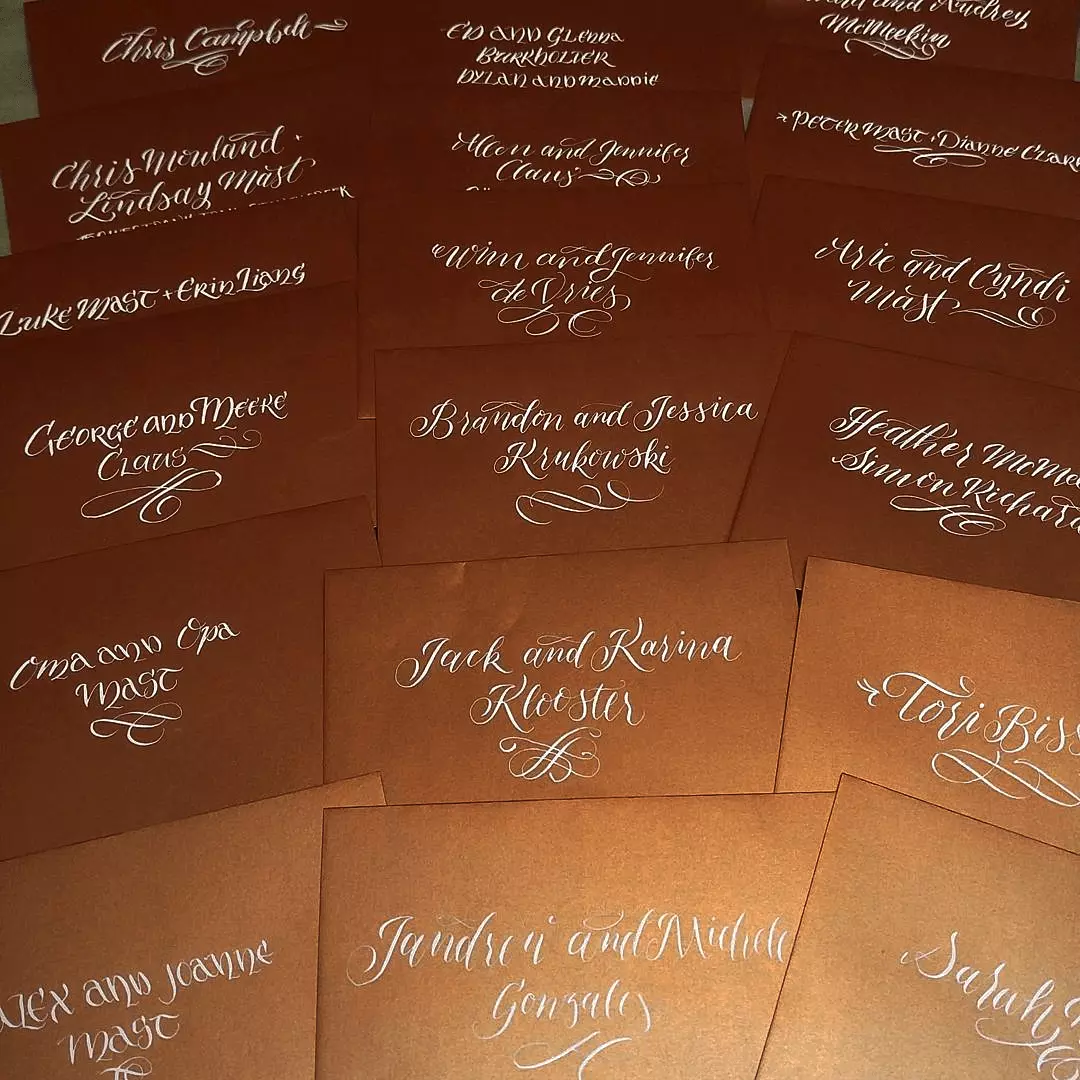
 Invitations & Addresses
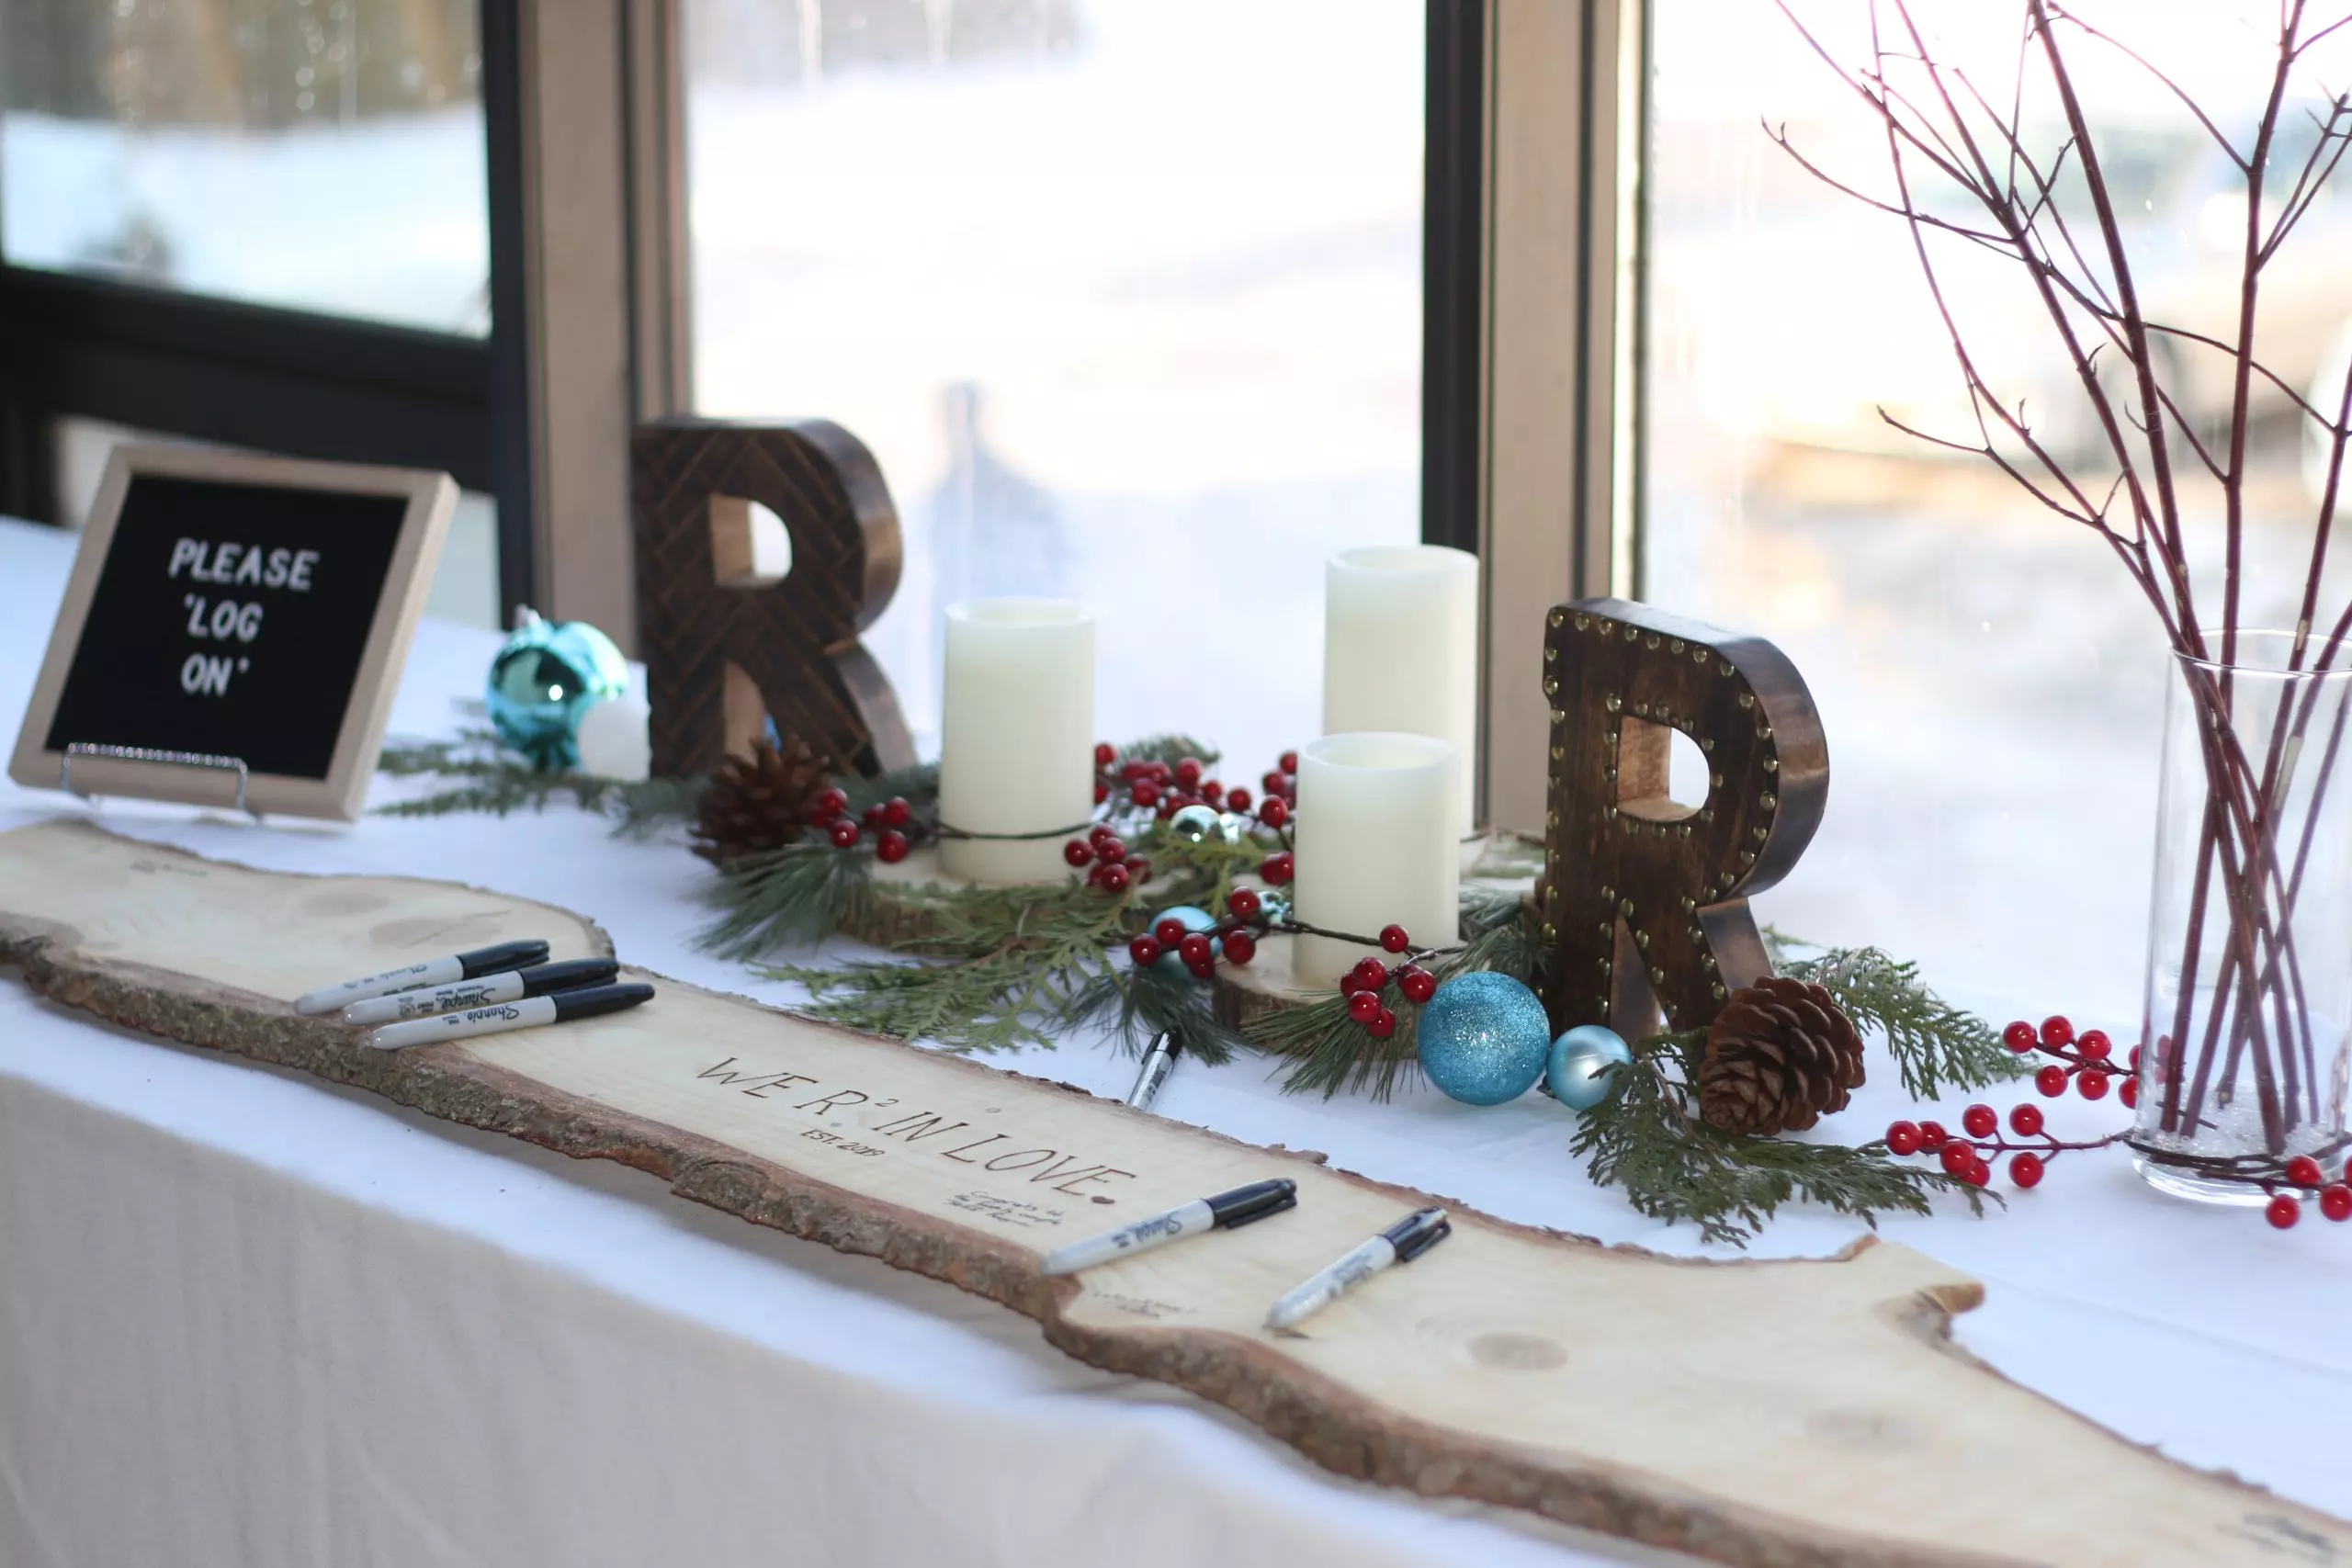
 Keepsake
Some examples of calligraphy being used at a wedding.
Now that you have an idea of the possibilities, you can decide which aspects of your wedding will benefit from the personal touch of calligraphy.
Step 1: Gather Your Supplies
Before you embark on your wedding calligraphy journey, it's time to gather all the necessary supplies. Here's a list of items you'll need:
 Calligraphy Ink
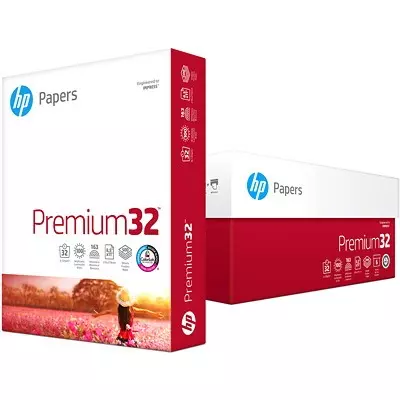
 High Quality Paper
 Nib Type + Example
 Pointed Pen Nib Holder
- Calligraphy Pen & Nibs: Invest in quality calligraphy pens, either dip pens or cartridge-based pens. Popular choices include pointed pen nibs like the Nikko G, Leonardt EF, or the classic Hunt 56.
- Ink: Choose archival-quality, waterproof ink in your preferred color(s). Black and gold are classic choices for wedding calligraphy, but you should select colors that match the wedding theme.
- Paper: Select high-quality paper with a smooth texture. Wedding invitations often use heavy cardstock or watercolor paper. Avoid low-quality paper, as it won't withstand calligraphy ink.
- Ruler and Pencil: A ruler helps maintain even line spacing, and a pencil allows you to sketch your calligraphy before inking.
- Eraser: You'll need an eraser to remove pencil guidelines and correct mistakes.
- Practice Paper: Use extra practice paper to hone your skills before working on the final wedding materials.
- Paper Towels or Blotting Paper: These are essential for blotting excess ink from your nib.
- Optional Extras: Wax seals, decorative elements, and embellishments can add a personal touch to your calligraphy. Additionally, a laser level can help with alignment without drawing lines on your envelope.
Step 2: Learn the Basics of Calligraphy Styles
There are various calligraphy styles to choose from, each with its own unique charm. It's important to choose a style that suits the couple's preferences and the overall wedding theme. Here are some popular wedding calligraphy styles:
Primary Scripts - (For Names):
Copperplate Calligraphy Known for its elegant and flowing script, Copperplate calligraphy is often used for fancy and formal invitations.
Modern Calligraphy This family of styles is more relaxed and free-flowing, making it perfect for a wedding full of playful whimsy.
Italic Calligraphy Italic calligraphy features slanted and crisp letterforms, offering a timeless look.
Gothic Calligraphy (Textura) The classic textura script, with its bold, block-like letters, can add a touch of medieval elegance to wedding invitations.
Secondary Scripts - (For Addresses):
Custom Scripts These scripts are used to add some contrast, so your invitations don't look too similar. The secondary scripts need to be clearer, as they are for the addresses and will need to be legible for any postal workers. Custom scripts can be a variant of the calligrapher's handwriting or a custom script of their own.
Step 3: Practice, Practice, Practice
Calligraphy is an art that requires practice to master. Start by practicing individual letters and then progress to words and phrases. Focus on consistency in letter height, spacing, and slant. If you're new to calligraphy, there are detailed sets of practice sheets available that teach you everything you need to know about the script you want to learn.
Step 4: Layout and Composition
Before you start writing on the actual wedding materials, plan the layout and composition. Determine where each element (names, date, venue, etc.) will go. Consider spacing, alignment, and any decorative elements you want to include.
Step 5: Begin Writing
With your layout in mind, carefully start writing the text on your wedding materials. Use a light pencil guideline to ensure proper spacing and alignment. Apply even pressure on the pen nib, and remember to take your time - patience is key in calligraphy. Rushing will only lead to smudging and blotting, which can be frustrating and stressful.
Step 6: Add Flourishes and Decorations
Enhance your wedding calligraphy with flourishes, swirls, and decorative elements. These can make your work feel more personalized and elegant. However, remember that simplicity often has a timeless beauty. Follow the old adage: "Less is More."
Step 7: Let It Dry
Allow your calligraphy to dry completely before handling it or adding any additional elements like wax seals or watercolor washes. This can take a few hours to overnight, depending on the ink and paper you've used. It's better to give it more time than you think it needs to ensure there's no smudging.
Step 8: Final Touches
Once everything is dry, erase any visible pencil guidelines and make any necessary touch-ups. If you're including wax seals, add them now.
Mastering wedding calligraphy requires dedication and practice, but the end result - elegant and personalized wedding materials - is well worth the effort. Whether you're creating your own wedding stationery or offering your calligraphy services to others, remember that calligraphy is an art form that thrives on individuality and creativity. Enjoy the process and let your artistic expression shine through in every stroke of the pen. Your wedding calligraphy will undoubtedly add a special touch to the celebration of love.


