
If you're looking to add a touch of boho chic to your home decor, then this easy large DIY macrame wall hanging tutorial is for you! Not only is it stunningly beautiful, but it's also surprisingly simple to make. In just a few hours, you can create a gorgeous piece of wall art that will be the envy of all your friends.
How Big is this Macrame Wall Hanging?
The finished macrame wall hanging measures approximately 36" wide and 29" tall, with a 48" long wooden dowel. It's the perfect size to hang behind a king-sized bed or as a statement piece in any room of your home.
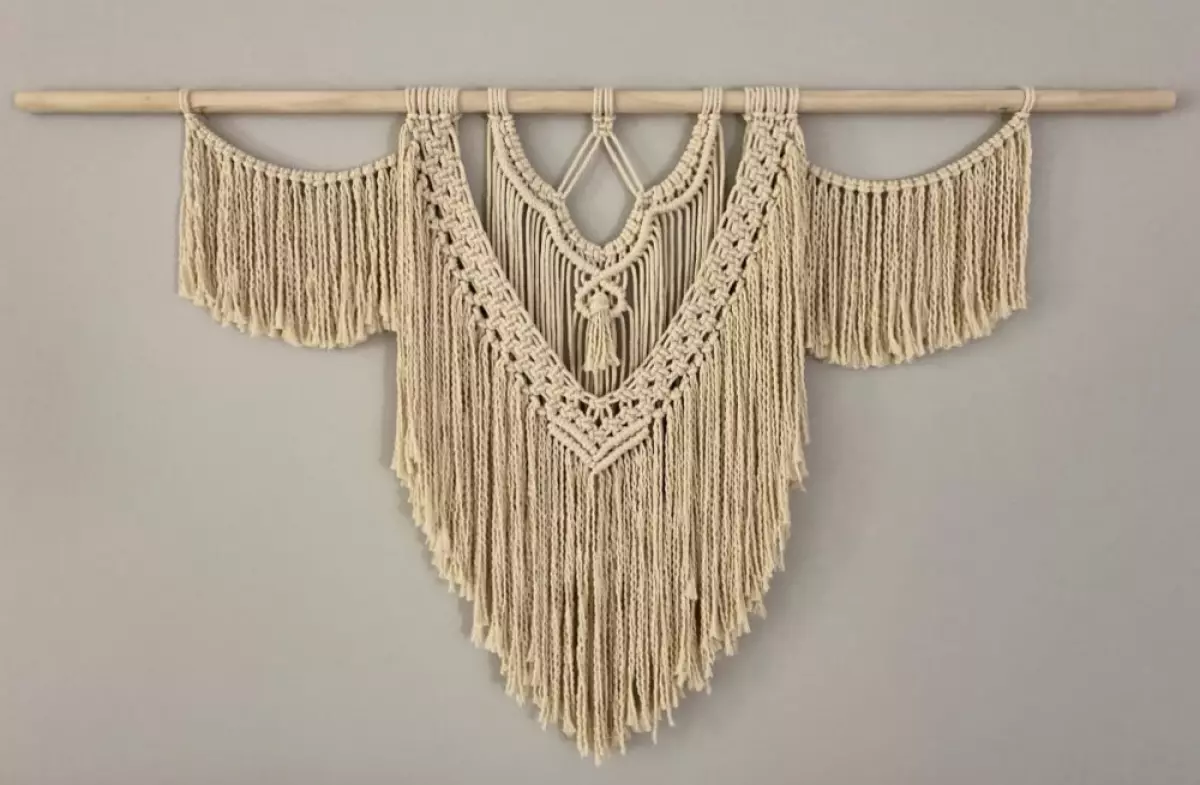 Size Reference photo macrame wall hanging
How Much Cord Will You Need?
For this large DIY macrame wall hanging, you'll need approximately 404 feet of 4 mm cotton macrame rope. It's always a good idea to have a little extra rope on hand, just in case. Don't worry if you're not a math whiz, the tutorial will guide you through the process and provide a cut list for all the different cord lengths required.
What Cord Should I Use?
For this wall hanging, the recommended cord is 4 mm three-strand twisted cotton rope. It's a great choice because it holds up well for knotting and creates a beautiful fringe when untwisted. You could also use single-strand cotton or braided cord, but they may require a bit more effort to achieve even knots or won't provide the same fringe effect.
 DIY Macrame Wall Hanging
What Else is Needed?
In addition to the macrame rope, you'll need a 48" wooden dowel (3/4" diameter) and a rack or holder to support your work while you're knotting. A clothing rack works well for this purpose, but you can also explore other options like metal pipe racks for a trendy look. Additionally, a sharp pair of scissors is essential for cutting the fringe.
Now that you have all the necessary supplies, let's dive into the step-by-step tutorial!
Step 1: Make the Center Section
Fold four 70" long pieces of rope in half and attach them to the dowel using lark's head knots. Space them out evenly on the dowel, with two center cords and two outer cords. Then, tie a square knot with the center cords just below the lark's head knots. Repeat this process to create a series of square knots at different heights.
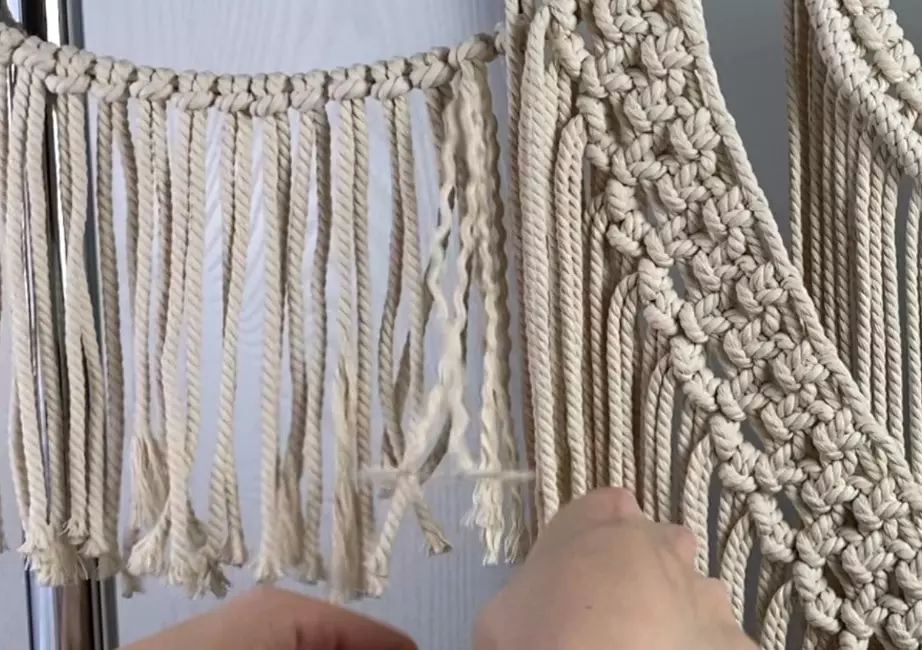
Step 2: Add the First Layer of Fringe
Attach 24 pieces of 40" fringe to the wall hanging using lark's head knots. The upper sections will each have seven pieces, while the two lower sections will have five pieces each.
Step 3: Tie a Row of Double Half Hitch Knots
Add two 64" pieces of rope on each side using lark's head knots. These will act as filler cords. Tie a row of double half hitch knots using the longer cord as the filler. Be sure to only use the fringe from the first layer for the knots.
For the remainder of the tutorial, please refer to the original article.
I hope you find this DIY macrame wall hanging tutorial enjoyable and inspiring! Remember to share your creations on Instagram and tag @marchingnorth so we can admire your work. If you're looking for more macrame projects, be sure to check out the related posts below for additional inspiration. Happy knotting!


