
Create a cozy and inviting atmosphere in your home this autumn with a stunning DIY Neutral Felt Leaf Garland. In this step-by-step tutorial, we will guide you through the process of making this delightful craft, infusing your space with charm and coziness.
To begin, gather the following materials:
- 10 Brown & Gray Soft Felt Sheets (comes in a set)
- Braided Jute Rope 3.5 mm
- Leaf Template (Download available)
- Fabric Scissors
- Hot Glue Gun
- Gorilla Hot Glue Sticks
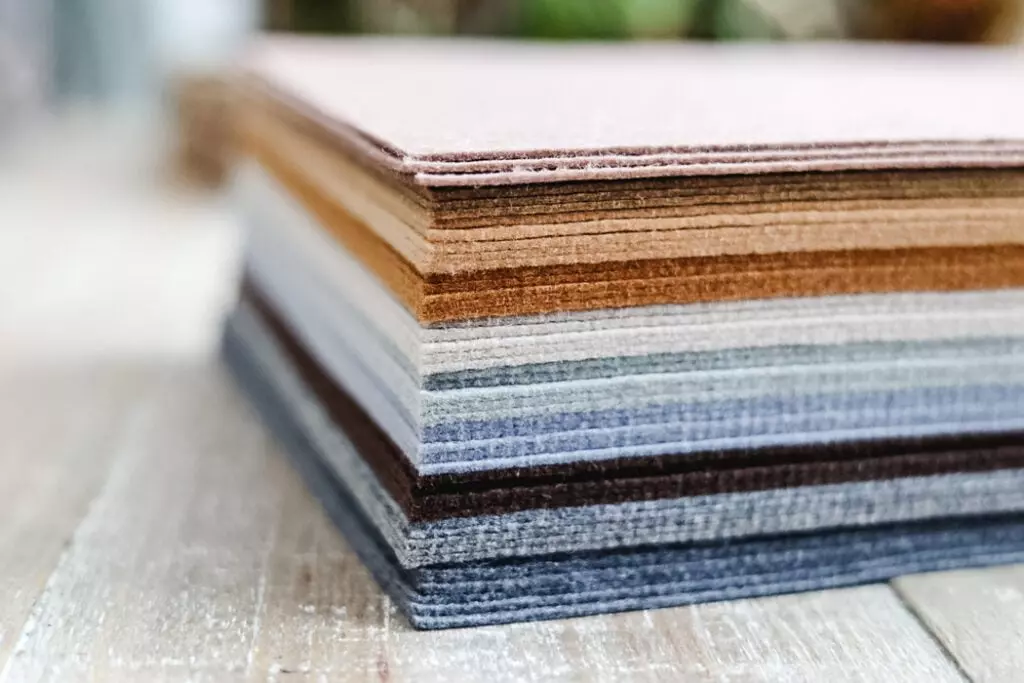
For this project, we recommend using a set of neutral felt sheets that offer a variety of brown and gray shades. The soft felt sheets are perfect for creating a garland, while the stiffer ones can be saved for a matching wreath.
You will find that using prepackaged complementary colors makes this project even easier. However, feel free to substitute with your favorite fall colors or use a single color for the garland.
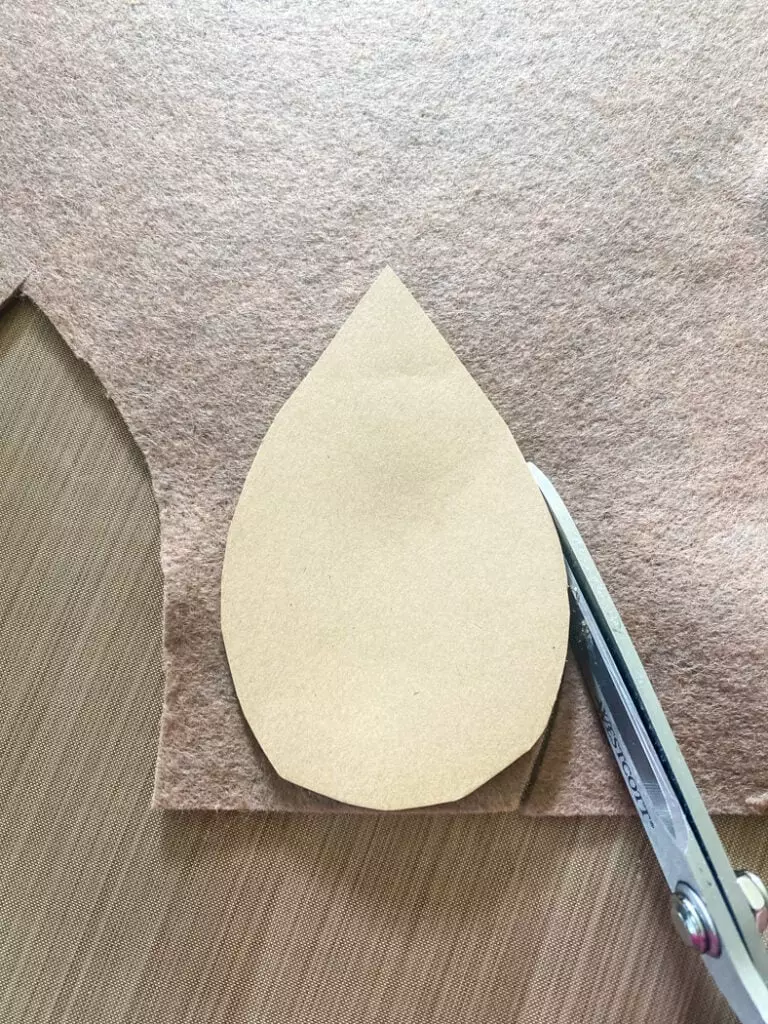
To simplify the leaf-cutting process, we have created a downloadable leaf template. This template includes four leaf shapes, making it easier to cut the felt and ensuring consistency in your garland.
Cut Out Felt Leaves
The felt sheets we are using measure 8.5 x 11.5 inches, which allows us to cut eight leaf shapes from each one. Be mindful of minimizing waste and maneuver the leaf to get the most out of each piece.
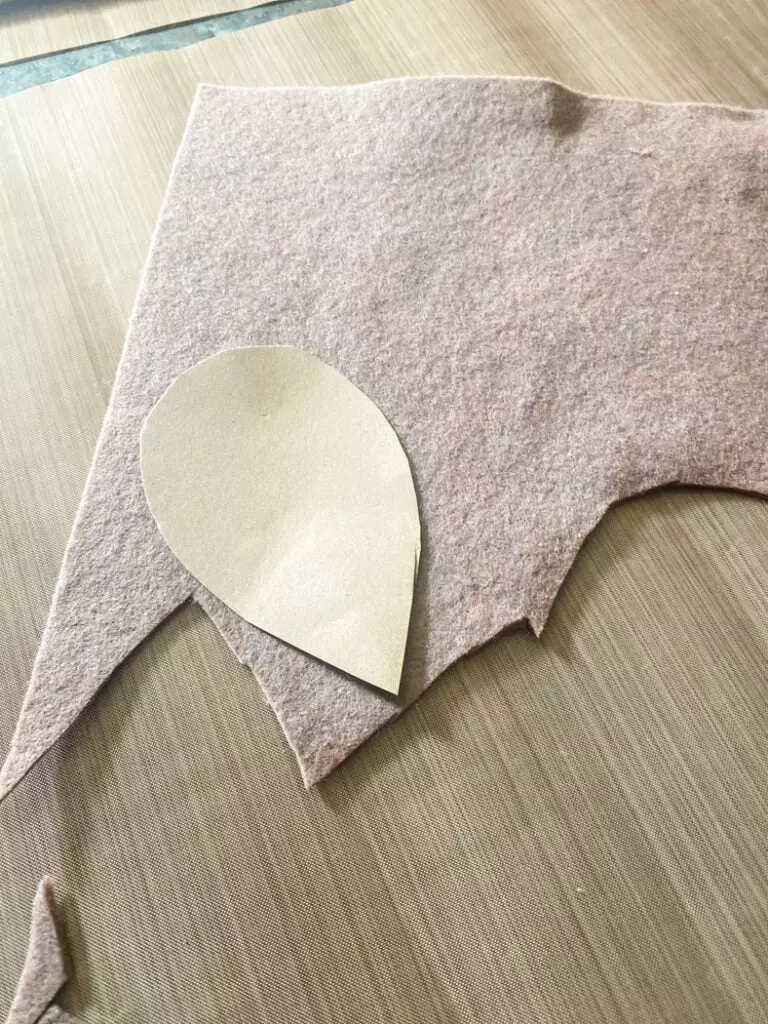
To speed up the process, stack the felt sheets and cut two at a time. If your scissors are sturdy, you can even stack four sheets (two of each color) to save more time.
The garland we are making today requires 16 leaves in each color, resulting in a 6-foot-long garland. However, feel free to adjust the length by making fewer leaves.
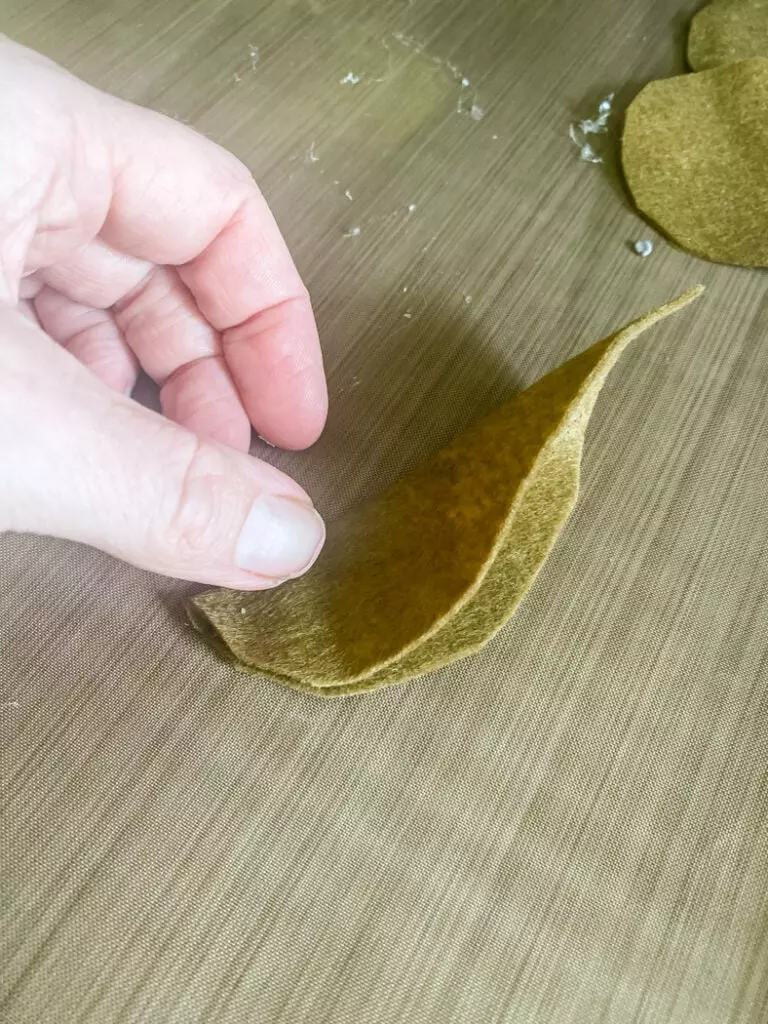
Glue Leaves In Half
To create the leaf shape, apply a small bead of hot glue down the middle at the bottom of the felt leaf. Fold the felt leaf in half and hold it until the hot glue sets. Take caution when working with hot glue, as it can cause burns. Consider using silicone finger protectors for added safety.

You can choose to glue all the leaves in half before starting the assembly or work with one color at a time. Find a method that suits your preference.
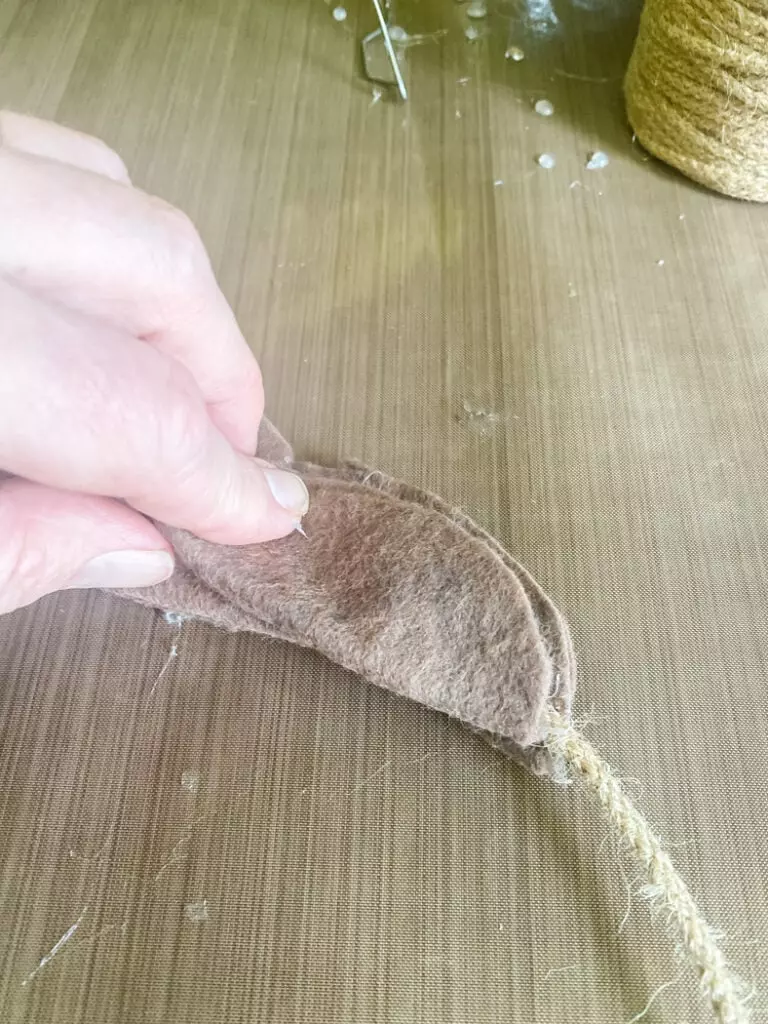
Assemble Garland
For the garland's base, we recommend using a jute rope that is pliable but not too thin. This rope will be hidden by the felt leaves, creating a seamless look.
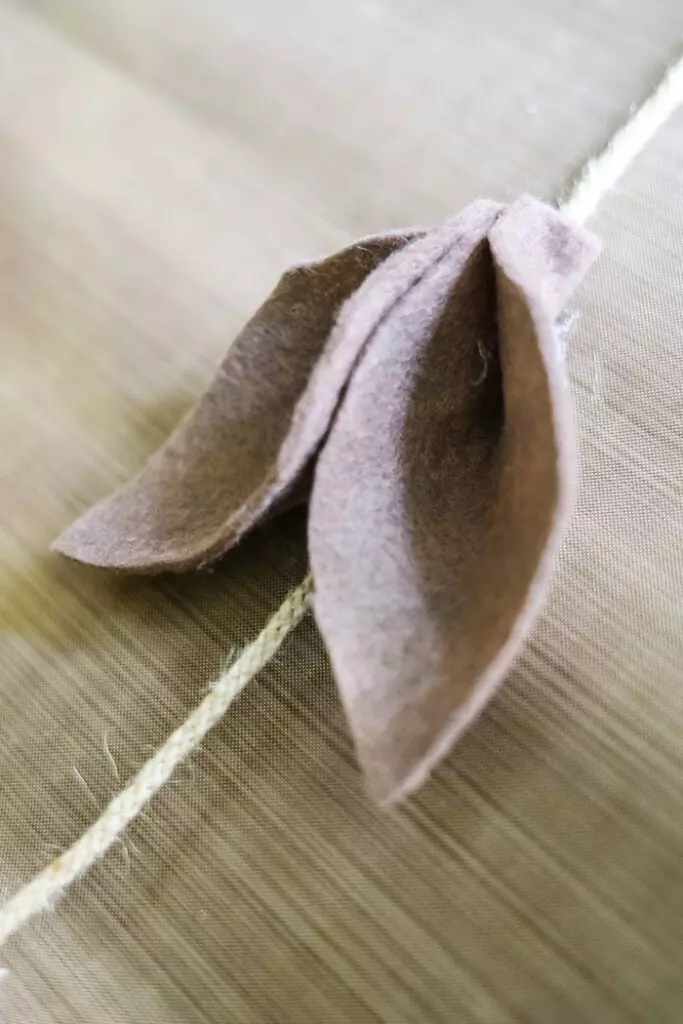
To assemble the garland, leave a tail of the jute rope and start by attaching the first set of leaves about 6 inches from the end. Run a bead of hot glue on the inside of a leaf and press it onto the rope. Flip it over and repeat the process with the matching leaf on the other side.
Place the next set of leaves close to the previous ones, ensuring they overlap. This will create a beautiful and cohesive look for your garland. Keep extra glue sticks handy, as you will likely need them throughout the project.
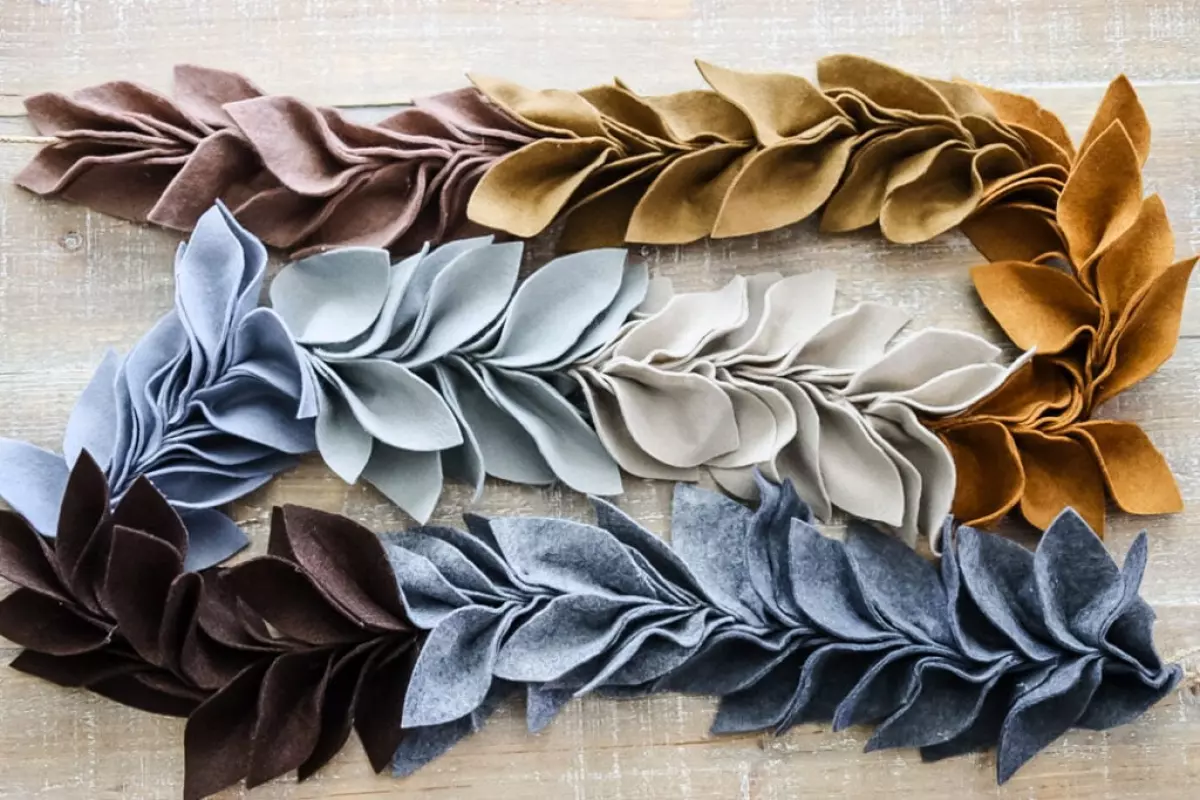
And there you have it, your finished neutral felt leaf garland! This 6-foot-long garland adds a touch of coziness to any space, be it draped across your mantle or adorning your dining room table. The earthy, neutral colors provide a modern yet inviting look, perfect for the autumn season.
Wishing you a season filled with warmth, creativity, and the simple joys of autumn!
More Fall DIY Projects - Follow us on Pinterest | Instagram | Facebook


